Email and SMS one-time-code authentication
Ory Network allows users to authenticate through a one-time code sent via email and SMS. This is useful for use-cases where users need to be onboarded through a minimal authentication process.
The one-time code method consists of a two-step process. The first step the user is required to enter their email address or phone number. In the second step they are prompted to enter the one-time code sent to their email address or phone number.
Below are examples of the one-time code authentication method in action:
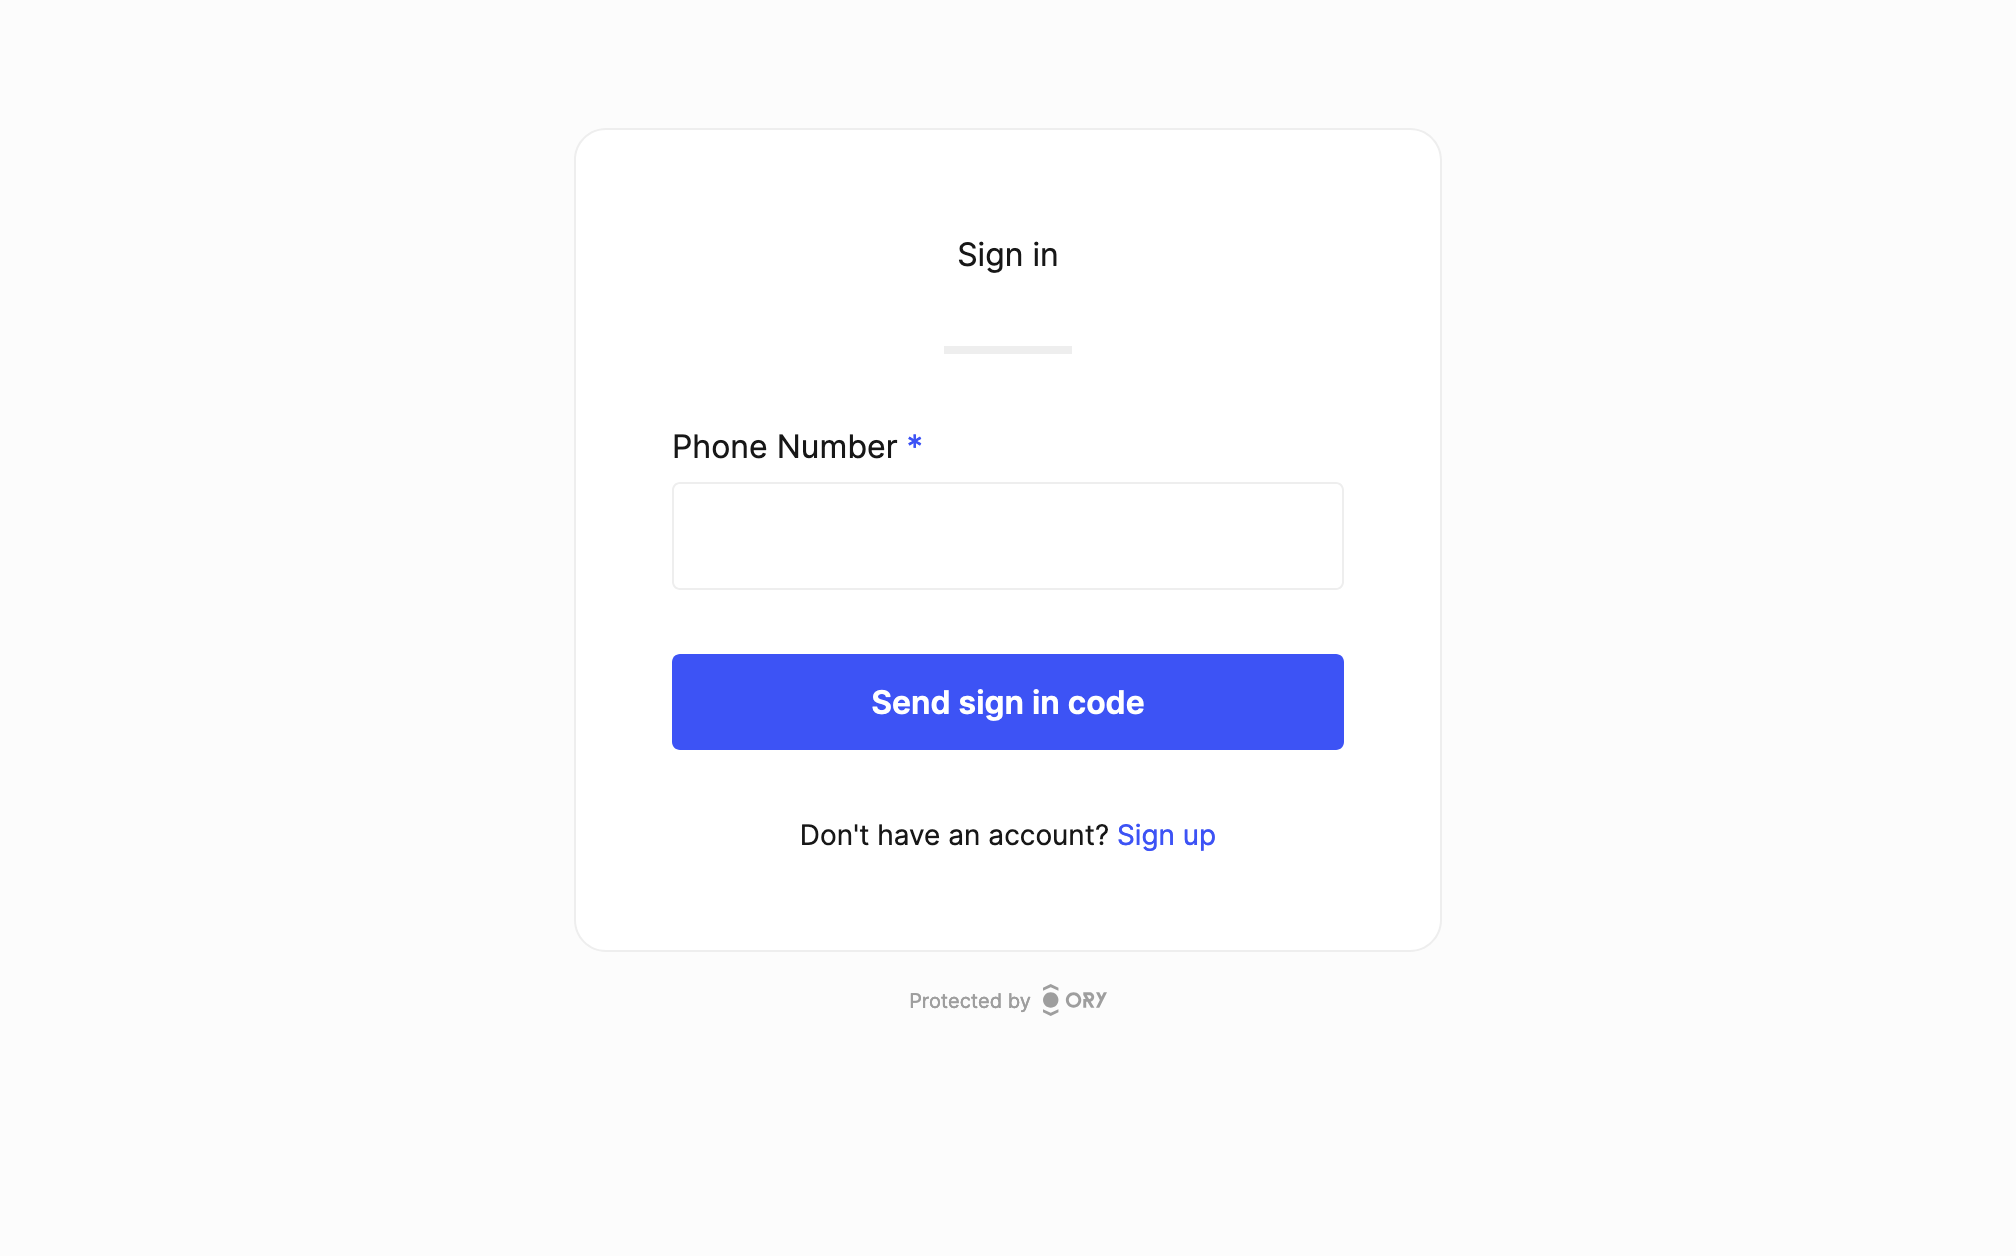
Enable email one-time-code (OTP)
- To enable email one-time-code, enable the one-time code strategy for passwordless:
- Ory Console UI
- Ory CLI
- Full Config
Go to Authentication → Passwordless login in the Ory Console to enable passwordless with one-time code.
ory patch identity-config <your-project-id> \
--add '/selfservice/methods/code/passwordless_enabled=true'
selfservice:
methods:
  code:
    passwordless_enabled: true
- If you are using a custom identity schema and not a preset, check the custom identity schema section.
- Open the login UI and test it out!
- You need a good email delivery provider to ensure that one-time codes are delivered reliably. We recommend setting up your own SMTP provider to ensure that you have full control over the email delivery process.
Enable SMS one-time-code (OTP)
Before enabling SMS one-time-code, please be aware that SMS OTP (One-Time Password) is considered insecure due to several vulnerabilities:
- SIM Swapping: Attackers can hijack your phone number by convincing your mobile carrier to transfer your number to a new SIM card.
- SMS Interception: SMS messages can be intercepted by attackers using various techniques, such as exploiting weaknesses in the SS7 protocol.
- Phishing: Users can be tricked into revealing their OTPs through phishing attacks.
Due to these risks, it is recommended to use more secure methods like Passkeys.
- To enable sms one-time-code, enable the one-time code strategy for passwordless:
- Ory Console UI
- Ory CLI
- Full Config
Go to Authentication → Passwordless login in the Ory Console to enable passwordless with one-time code.
ory patch identity-config <your-project-id> \
--add '/selfservice/methods/code/passwordless_enabled=true'
selfservice:
methods:
  code:
    passwordless_enabled: true
- Select an identity schema that has a phone number. In our case we will use the
smspreset:- Go to User management → Identity schema in the Ory Console.
- Click the "active schema" drop down.
- Select the
smspreset.
- For this example we will create a mock SMS provider. You can find more information on how to configure SMS providers in
SMS delivery configuration:
- Set up a fake webhook endpoint using a service like webhook.site.
- Copy the "unique URL" of the webhook (for example
https://webhook.site/859c1c...). - Use the Ory CLI to set up the SMS channel:
ory patch identity-config --project ${project_id} \
  --add '/courier/channels=[{"id":"sms","request_config":{"method":"PUT","body":"base64://ZnVuY3Rpb24oY3R4KSB7DQpjdHg6IGN0eCwNCn0=","url":"https://webhook.site/#!/view/859c1c2c-c4d5-4058-aec4-53f37929c5c1"}}]'
- Open the sign up page and sign up for an account.
- After the UI shows you that a code has been sent, check out the webhook target which will now show in response to the SMS being sent.
- If you are using a custom identity schema and not a preset, check the custom identity schema section.
Template customization
Customize the login and registration email templates to match your brand. You can find more information on how to do this in Emails and SMS.
Custom identity schema
All Ory Identity Schema presets are one-time code ready.
If you want to use a custom identity schema, you must define which field of the schema is the primary identifier for the one-time code strategy.
{
  $schema: "http://json-schema.org/draft-07/schema#",
  type: "object",
  properties: {
    traits: {
      type: "object",
      properties: {
        email: {
          type: "string",
          format: "email",
          title: "Your email",
          minLength: 3,
          "ory.sh/kratos": {
            credentials: {
              code: {
                identifier: true,
                via: "email",
              },
              // ...
            },
          },
        },
        // ...
        phone_number: {
          type: "string",
          format: "tel",
          title: "Your phone number",
          minLength: 3,
          "ory.sh/kratos": {
            credentials: {
              code: {
                identifier: true,
                via: "sms",
              },
              // ...
            },
          },
        },
      },
    },
  },
}